Burnt-on grease, baked-in splatters, and those mystery stains at the back of the oven, they’re the worst. Traditional oven cleaners work, but the fumes are harsh and the cost adds up. Enter the dishwasher pod hack that’s been making the rounds online. It sounds too simple to be true: dissolve a pod in warm water, scrub, and walk away with a sparkling oven. But does it actually work? The short answer: yes, with the right technique. This method uses the concentrated detergents and enzymes already sitting in your kitchen, cutting through grease without the chemical burn. Here’s how to do it properly.
Table of Contents
ToggleKey Takeaways
- Cleaning oven with dishwasher pods effectively uses concentrated enzymes and surfactants to break down baked-on grease and stubborn residue without harsh chemical fumes.
- Dissolve 1–2 dishwasher pods in warm water, apply generously to all oven surfaces, and let sit for 30 minutes to overnight to allow the detergent to penetrate burnt-on grime.
- This method is gentler on hands and lungs than traditional aerosol oven cleaners but still requires rubber gloves, ventilation, and caution around gas burner components.
- For best results, avoid steel wool or abrasive pads that scratch enamel, use a plastic scraper for stubborn spots, and rinse thoroughly twice to remove all detergent residue and prevent streaking.
- This dishwasher pod cleaning hack works best on standard electric and gas ovens with enamel interiors; skip this method for self-cleaning ovens with special coatings without consulting the manual first.
- Heavily soiled ovens may require multiple cleaning rounds or professional help, making this technique most effective for regular maintenance rather than emergency deep cleaning.
Why Dishwasher Pods Work for Oven Cleaning
Dishwasher pods aren’t just for dishes, they’re formulated to break down baked-on food and grease at high temperatures, which makes them surprisingly effective on oven interiors. Most pods contain a mix of enzymatic cleaners, degreasers, and surfactants that work together to lift stubborn residue.
The enzymes target protein-based stains (think roasted chicken drippings), while the surfactants break the surface tension of grease, allowing it to be wiped away instead of just smeared around. When dissolved in warm water, the pod creates a concentrated cleaning solution that clings to vertical surfaces and penetrates burnt-on grime.
Compare this to aerosol oven cleaners, which rely on sodium hydroxide (lye) to chemically dissolve residue. They’re effective but corrosive, requiring heavy ventilation and gloves. Dishwasher pods are gentler on your hands and lungs, though they still pack enough punch to handle months of buildup. The trick is giving the solution time to work, this isn’t a spray-and-wipe method.
One caveat: this method works best on standard electric and gas ovens with enamel or porcelain interiors. If you have a self-cleaning oven with a special coating or a commercial-grade unit, check your manual first. Some coatings can react poorly to alkaline detergents.
What You’ll Need to Clean Your Oven
This isn’t a project that requires a trip to the hardware store. Most of what you need is already in the house.
Materials:
- 1–2 dishwasher pods (any brand: powder or gel tabs both work)
- Warm water (roughly 2–3 cups)
- A small bowl or bucket
- Clean sponges or microfiber cloths (2–3)
- A plastic scraper or old credit card (for stubborn spots)
- Paper towels or dry rags for final wipe-down
- Optional: baking soda for extra abrasion on tough spots
Tools:
- Rubber gloves (the detergent can dry out your hands)
- A spray bottle (optional, for easier application)
- A bucket of clean water for rinsing
Safety Gear:
- Rubber gloves to protect your skin from prolonged detergent exposure
- Ventilation, open a window or run the kitchen fan: while milder than commercial cleaners, the fumes from heated residue aren’t pleasant
You don’t need a pressure washer or a steam cleaner. This is a low-tech, elbow-grease method that relies on chemistry and patience more than equipment.
Step-by-Step Guide to Cleaning Your Oven with a Dishwasher Pod
Preparing Your Oven for Cleaning
Start by removing everything from the oven: racks, thermometers, pizza stones, and any loose debris. Shake out crumbs over the trash or vacuum them up with a handheld vac. The racks can be cleaned separately, either soak them in a tub with dish soap and hot water, or run them through the dishwasher if they fit.
Make sure the oven is completely cool before you start. Applying water-based cleaners to a hot surface can cause steam burns and won’t let the detergent sit long enough to work. If you just finished baking, wait at least an hour.
Check for any large, loose chunks of burnt food. Use a plastic scraper or the edge of a spatula to gently lift them off. Don’t gouge the enamel, light pressure is enough. These big pieces will just turn into sludge once the cleaner hits them, making the job messier than it needs to be.
Applying the Dishwasher Pod Solution
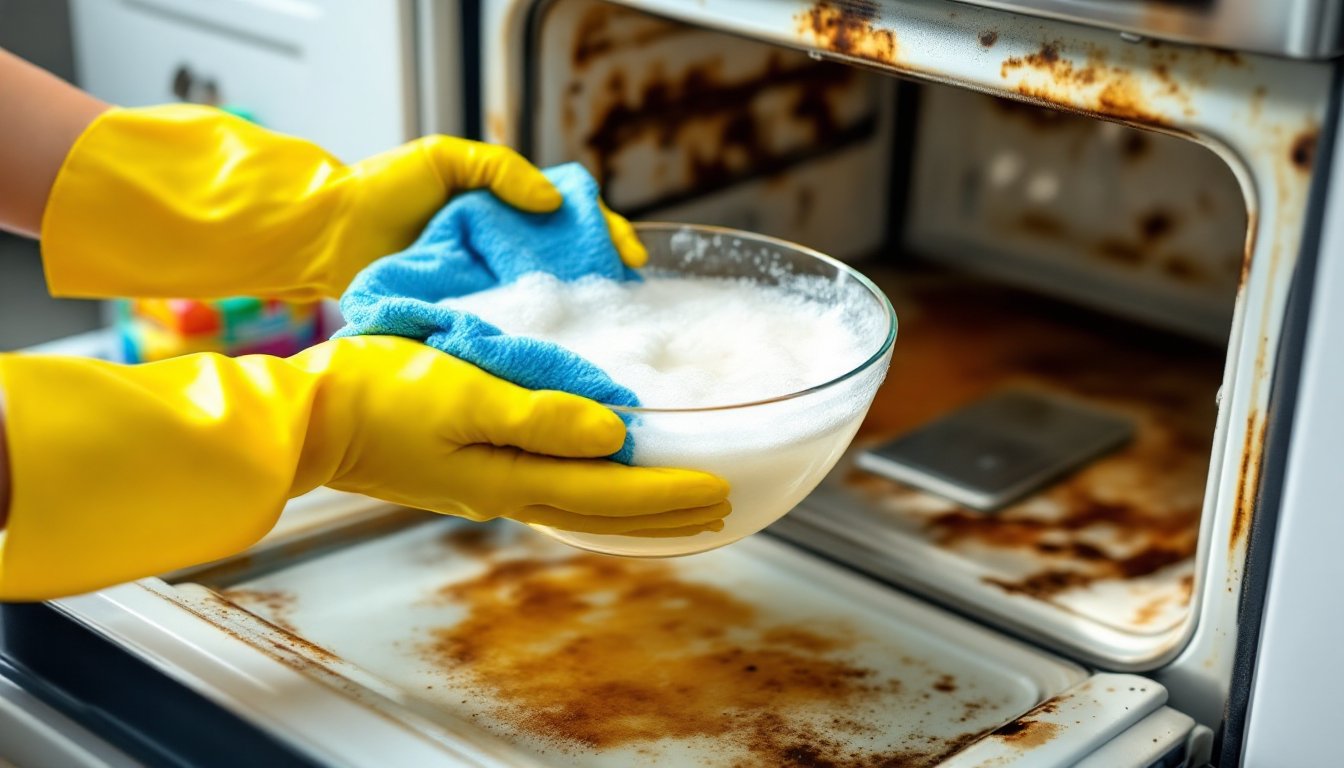
Fill a small bowl with 2–3 cups of warm water (not boiling, around 120–130°F works well). Drop in one dishwasher pod and let it dissolve for a minute or two. Stir it with a spoon or your gloved hand until it’s fully broken down into a sudsy, thick liquid.
Dip a sponge or cloth into the solution and start applying it to the oven interior. Work in sections: the back wall first, then the sides, the bottom, and finally the door. You want a generous coat, don’t be shy. The goal is to keep the surface wet so the detergent can penetrate. For vertical surfaces, the solution should cling rather than drip off immediately.
Pay extra attention to the bottom of the oven and any areas with visible grease buildup. If the solution starts to dry out or you run low, mix up a second pod. For heavily soiled ovens, some pros recommend using cleaning methods tested by experts to compare effectiveness across different products.
Once everything is coated, close the oven door and let it sit for at least 30 minutes. For serious buildup, leave it for an hour or even overnight. The longer dwell time gives the enzymes and surfactants more time to break down the grime. You’re not scrubbing yet, just waiting.
Wiping and Rinsing for a Spotless Finish
After the dwell time, open the oven and grab a fresh, damp sponge. Start wiping down the surfaces, beginning with the back wall and working your way forward. You’ll notice the grease lifts off much easier than it would with plain water. For stubborn spots, sprinkle a small amount of baking soda directly onto the sponge and use it as a gentle abrasive.
Use the plastic scraper for any remaining caked-on spots, especially in the corners or along the heating element housing. Don’t use steel wool or abrasive pads, they’ll scratch the enamel and create rough spots that attract more grime.
Rinse your sponge frequently in a bucket of clean water. The detergent leaves a residue if not fully wiped away, and you don’t want that baking into the oven the next time you preheat. Go over every surface at least twice: once to remove the bulk of the cleaner and grime, and a second time with a nearly dry cloth to pick up any film.
For the door glass, wipe it down with the same solution, then follow up with a dry microfiber cloth to avoid streaks. Many simple home cleaning hacks emphasize the importance of a final dry pass to prevent water spots.
Once you’re satisfied, replace the racks and do a quick visual check. If there are still some hazy spots, dampen a cloth with plain water and vinegar (1:1 ratio) and wipe them down. That’ll neutralize any leftover detergent and leave the interior streak-free.
Safety Tips and Precautions When Using Dishwasher Pods
While this method is safer than aerosol oven cleaners, dishwasher detergent is still a chemical product. Always wear rubber gloves, the concentrated solution can irritate skin, especially if you have cuts or dry hands. If you get any in your eyes, rinse immediately with water for several minutes.
Keep the kitchen well-ventilated. Open a window or turn on the range hood. The fumes from the detergent mixing with old grease aren’t toxic in small amounts, but they’re not pleasant either, and prolonged exposure in a closed space can cause headaches.
Never use this method on a self-cleaning oven’s interior coating without checking the manual first. Some manufacturers warn against alkaline cleaners, which can damage the special finish designed for high-heat cycles. If your oven has a pyrolytic or catalytic coating, stick to the self-clean function or cleaners specifically rated for those surfaces.
Don’t let kids or pets near the oven while you’re working. The solution looks like soapy water, but it’s much stronger. Store unused pods out of reach, they’re a poisoning hazard if ingested, and the bright colors can be tempting to curious toddlers.
If you have a gas oven, take extra care around the burner ports and pilot light area. Avoid flooding those components with liquid. A damp cloth is fine, but standing water can interfere with ignition. If you’re unsure about cleaning around the gas elements, consult your appliance manual or call in a pro.
Finally, don’t expect miracles on extreme neglect. If your oven hasn’t been cleaned in years and has a thick layer of carbonized grease, this method might need multiple rounds, or you might need to step up to a commercial-grade cleaner or professional service. For ongoing maintenance, established cleaning routines from trusted sources can help prevent heavy buildup between deep cleans. This hack works best as regular upkeep, not a rescue operation.


